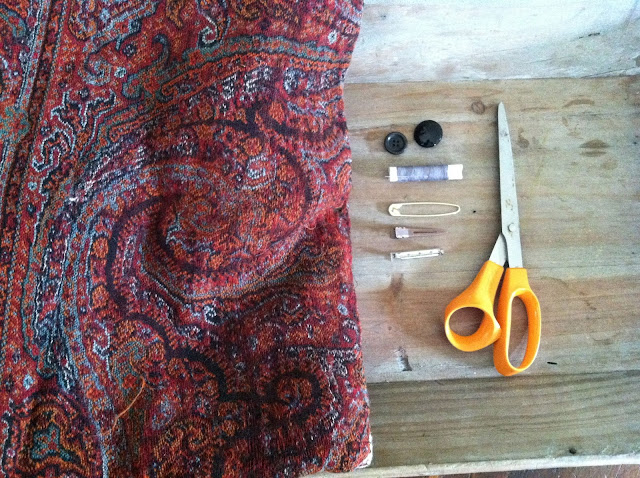
What you will need:
>A cool fabric with a bit of stretch to it ( mine is from my "yia yia's" vintage collection
>Scissors, thread, needle, backings and vintage buttons or embellishments
Cut a strip about a half inch longer than the size around your wrist
Cut 4 squares each smaller than the last
You will have one long strip of fabric and 4 squares
Turn the fabric to the back side and pinch across the top lining up the ends and sew tightly across
You should then have a wristband like this one
Stack your squares largest to smallest
Pinch down in the center and sew up and down shaping a bit to bring form
You should then have something like this
Hot glue or sew your backings on
Add vintage buttons or other embellishments like tool or lace
You will then have this beauty! But not just this because the flower is convertible and can then be placed on a scarf, headband, blazer coat or your fantastic new wristband
Be creative with your designs


0 comments:
Post a Comment